
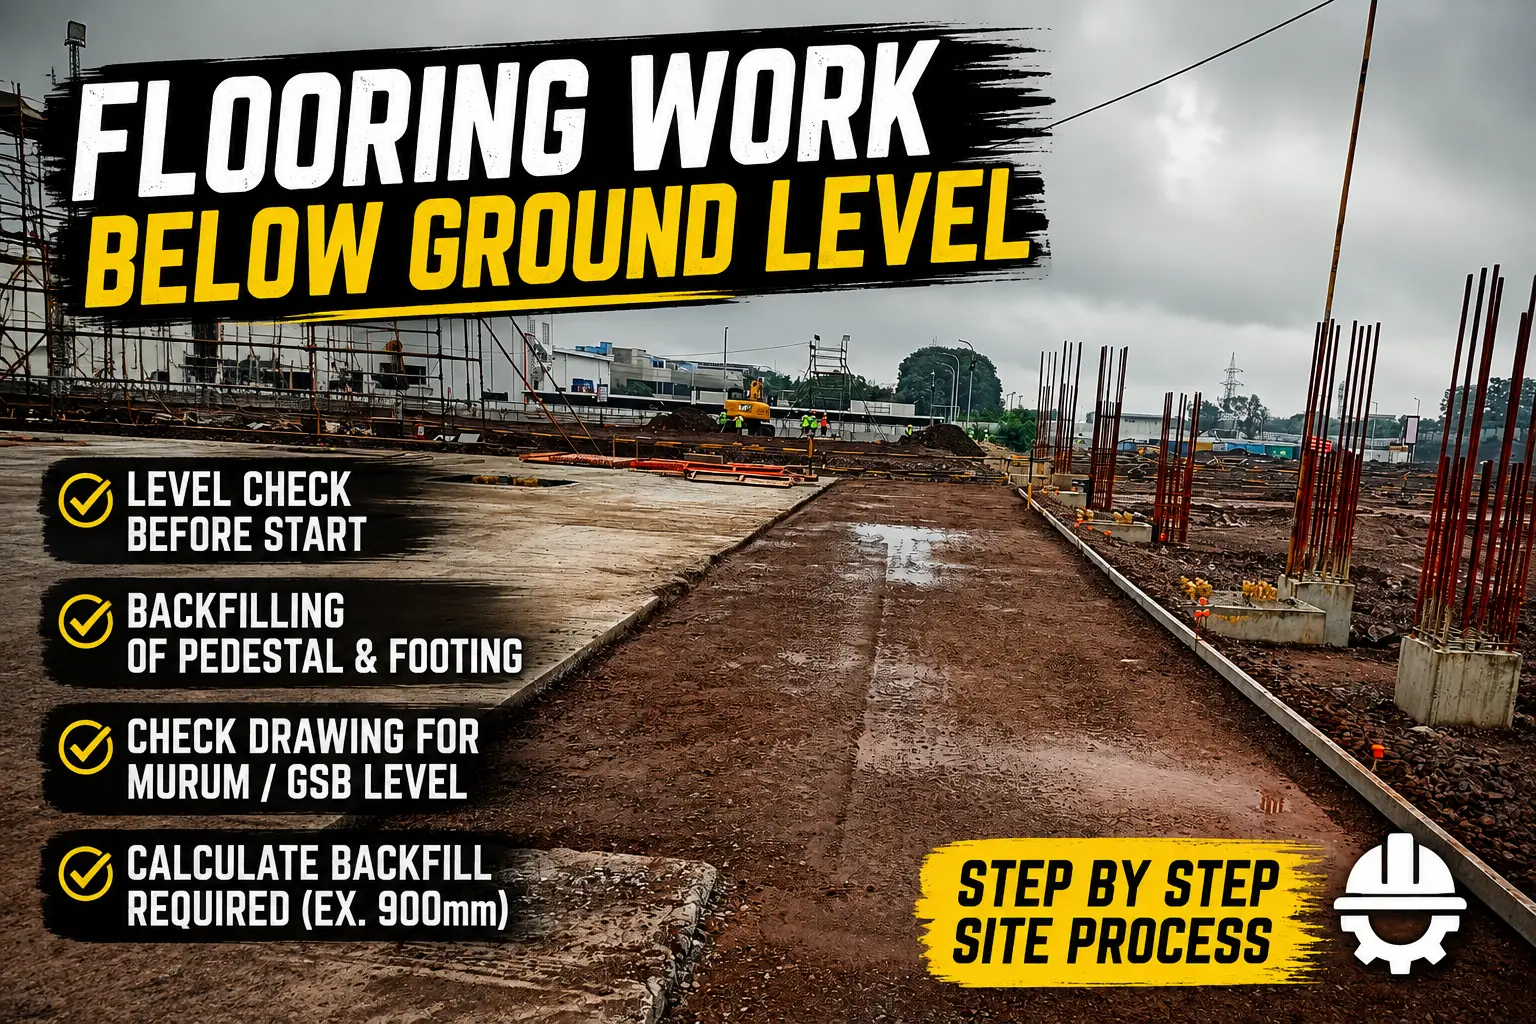
Flooring work below ground level is one of the most critical yet often underestimated stages of a construction project. Long before tiles, concrete, or finishes are laid, the sub-base beneath must be prepared with precision. A poorly compacted or incorrectly leveled sub-base can lead to settlement, cracking, and structural issues years down the line — problems that are far more expensive to fix after the fact than to prevent during execution.
This article walks through the complete process of below-level flooring work, from initial site leveling to final compaction testing of the Granular Sub-Base (GSB) layer.
Why Sub-Base Preparation Matters
Before any flooring or paving work begins, the ground beneath needs to be brought to a stable, well-compacted, and accurately leveled condition. This is achieved in two major stages: Murum filling (a locally available compactable soil/gravel material) followed by GSB filling (a more engineered, graded aggregate layer). Each stage involves careful measurement, layer-wise filling, compaction, and quality testing to ensure the final surface can safely bear the loads placed on it.
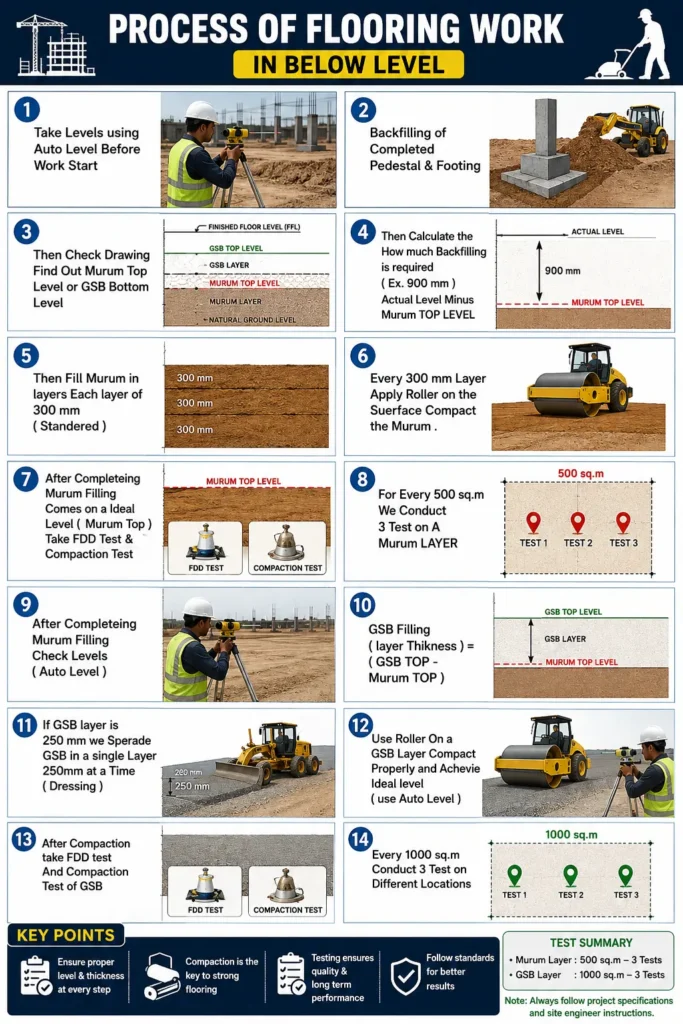
Step 1: Take Initial Levels Using an Auto Level
Before any work begins, site levels are recorded using an auto level (automatic optical leveling instrument). This establishes the baseline elevation of the existing ground and is essential for all subsequent calculations.
Step 2: Backfill Around Completed Pedestals and Footings
Once the pedestal and footing work is complete, the surrounding excavated areas are backfilled. This restores the ground around the foundation elements and prepares the area for the layered filling process that follows.
Step 3: Refer to Drawings for Target Levels
The structural or architectural drawings are consulted to determine two critical reference points:
- The Murum top level
- The GSB bottom level
These target levels guide how much material needs to be filled and where each layer should end.
Step 4: Calculate the Required Backfilling Depth
Using the initial site levels and the target Murum top level from the drawings, the required fill depth is calculated:
Required Fill = Actual Ground Level − Murum Top Level
For example, if the calculation works out to 900 mm, that is the total depth of Murum that needs to be filled and compacted before reaching the design level.
Step 5: Fill Murum in Standard Layers
Murum is never filled in one large lift. Instead, it is placed in layers of 300 mm each (the standard layer thickness). This layer-wise approach ensures uniform compaction throughout the depth of fill, rather than leaving weaker, under-compacted material buried beneath the surface.
Step 6: Compact Each Layer with a Roller
After each 300 mm layer is spread, a roller is run over the surface to compact the Murum. Compaction increases the density of the fill, reduces air voids, and improves its load-bearing capacity — a step that must be repeated for every single layer, not just the final one.
Step 7: Conduct FDD and Compaction Tests
Once Murum filling reaches the design (ideal) level, Field Dry Density (FDD) tests and compaction tests are carried out. These tests confirm whether the achieved density meets the specified compaction standards (typically expressed as a percentage of the Maximum Dry Density, or MDD) before the team proceeds further.
Step 8: Testing Frequency for Murum
Quality control isn’t a one-time check — it’s distributed across the work area. For every 500 sq. m of Murum layer, 3 tests are conducted at different locations to ensure consistent compaction across the entire surface, not just at isolated points.
Step 9: Re-Verify Levels After Murum Filling
Once Murum filling and testing are complete, levels are checked again using the auto level. This confirms that the achieved surface matches the intended Murum top level before GSB work begins.
Step 10: Calculate the GSB Layer Thickness
With the Murum top level confirmed, the GSB layer thickness is calculated:
GSB Layer Thickness = GSB Top Level − Murum Top Level
This tells the team exactly how much GSB material needs to be spread above the compacted Murum.
Step 11: Spread GSB in a Single Layer
Unlike Murum, GSB is typically spread in a single layer if the required thickness is within standard limits — for instance, a 250 mm GSB layer is laid and dressed (leveled) in one pass rather than split into multiple lifts.
Step 12: Compact the GSB Layer
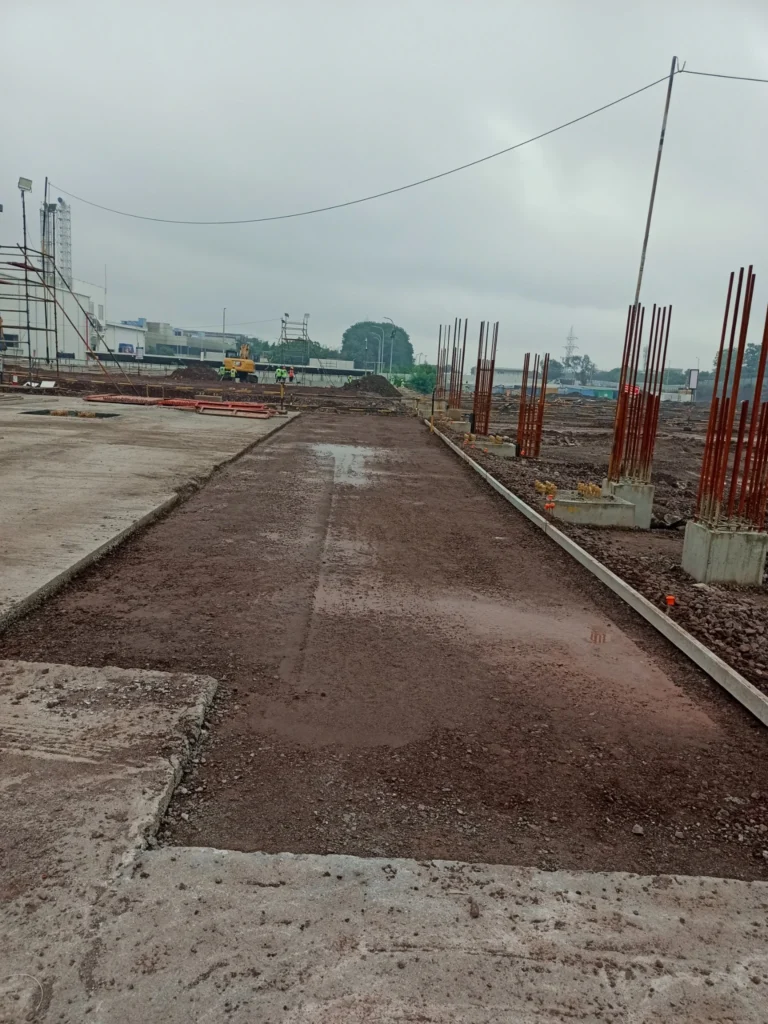
A roller is used to compact the GSB layer, and the auto level is used again to verify that the compacted surface achieves the design (ideal) level accurately.
Step 13: Conduct FDD and Compaction Tests on GSB
Just as with Murum, once the GSB layer is compacted, FDD and compaction tests are performed to confirm the layer meets the required density and strength specifications.
Step 14: Testing Frequency for GSB
For the GSB layer, testing frequency is slightly different: 3 tests are conducted for every 1000 sq. m at different locations across the compacted surface.
Summary: The Complete Sequence
| Stage | Action | Key Check |
|---|---|---|
| 1 | Initial level survey | Auto level |
| 2 | Backfill around footings/pedestals | — |
| 3–4 | Determine target levels & fill quantity | Drawing reference |
| 5–6 | Murum filling in 300 mm layers + rolling | Compaction each layer |
| 7–8 | FDD & compaction testing | 3 tests / 500 sq. m |
| 9 | Re-verify Murum top level | Auto level |
| 10–12 | GSB filling (single layer) + rolling | Auto level |
| 13–14 | FDD & compaction testing on GSB | 3 tests / 1000 sq. m |
Final Thoughts
The strength and longevity of any flooring system ultimately depends on what lies beneath it. By following a disciplined, layer-by-layer approach to Murum and GSB filling — backed by regular level checks and density testing — engineering teams can ensure a stable, well-compacted sub-base that will support the finished floor for decades to come. Skipping or rushing any of these steps, particularly the compaction testing stages, is a common root cause of floor settlement and cracking on site.

Hi! I’m Sandip, a civil engineer who loves sharing about Civil Engineering & new ideas and tips. My blog helps you learn about engineering in a fun and easy way!