Understanding Drywall Compound: Types, Uses, and Tips
Table of Contents
Drywall compound, commonly known as “mud,” is an essential material in construction and home improvement projects. It plays a pivotal role in creating smooth, flawless walls and ceilings by filling seams, covering joints, and repairing imperfections. This comprehensive guide delves into the various types of drywall compounds, their specific applications, and expert tips to help you achieve professional results.
What Is Drywall Compound?
Drywall compound is a gypsum-based paste used to finish drywall joints and corners in new drywall installations. It’s also handy for repairing cracks and holes in existing drywall and plaster surfaces.
Types of Drywall Compounds
Selecting the appropriate type of drywall compound is crucial for the success of your project. Here are the primary types:
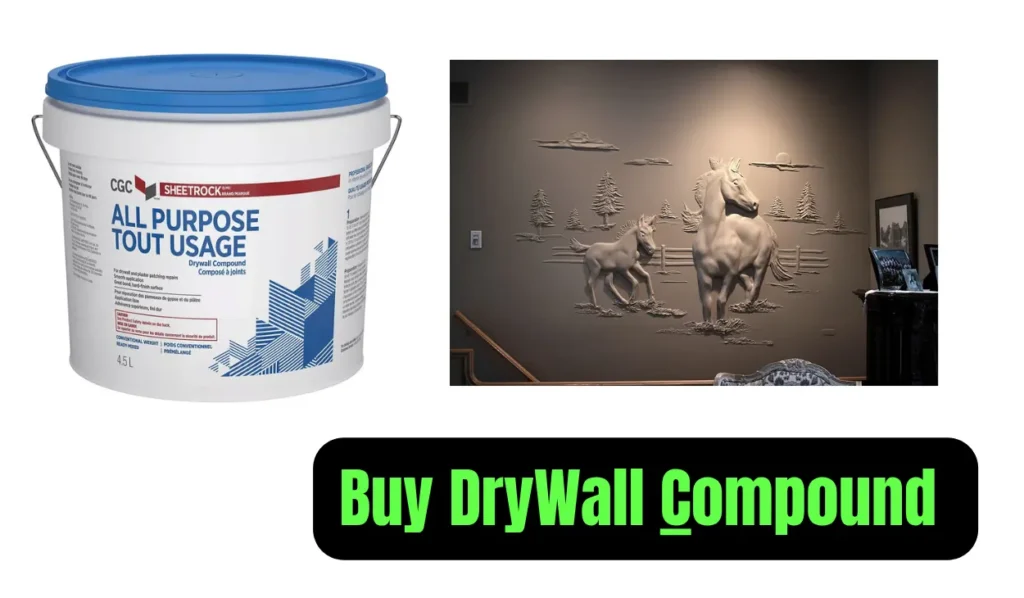
1. All-Purpose Joint Compound
As the name suggests, all-purpose joint compound is versatile and suitable for most phases of drywall finishing, including embedding tape, filling, and finishing coats. It’s pre-mixed and easy to work with, making it a popular choice for both professionals and DIY enthusiasts
Ideal for:
- Embedding drywall tape
- Applying texture to surfaces
- General patching and repairs
2. Topping Compound
Topping compound is designed for the final coat over seams and corners. It offers a smooth finish, is easier to sand, and shrinks less than all-purpose compounds. However, it’s not recommended for embedding tape or as a base coat.
Ideal for:
- Final finishing coat
- Achieving a smooth, polished surface
3. Setting-Type Joint Compound
Also known as “hot mud,” setting-type joint compound comes in powder form and hardens through a chemical reaction rather than air drying. It sets quickly, with available setting times ranging from 5 to 90 minutes, making it ideal for projects requiring fast turnaround. Due to its rapid setting nature, it’s more challenging to work with and is best suited for experienced users.
Ideal for:
- Pre-filling large gaps and cracks
- Applying in high-humidity areas
- Projects requiring quick turnaround
4. Lightweight Joint Compound
This compound is similar to all-purpose but weighs approximately 30% less. It’s easier to sand and shrinks less, reducing the number of coats needed. Lightweight joint compound is suitable for finishing coats but is not recommended for embedding tape.
Ideal for:
- Final coats
- Reducing application fatigue
- Minimizing shrinkage and sanding efforts
Tips for Using Drywall Compound
Achieving a professional finish with drywall compound requires attention to detail and the right techniques. Here are some expert tips:
- Mix Thoroughly: Ensure the compound is well-mixed to a creamy consistency to avoid lumps and achieve a smooth application.
- Apply Thin Coats: Multiple thin layers are preferable to one thick coat. This approach reduces drying time and minimizes cracking.
- Feather Edges: Extend each coat slightly beyond the previous one and feather the edges to blend seamlessly with the surrounding surface.
- Allow Proper Drying Time: Let each coat dry completely before applying the next. Drying times can vary based on the type of compound and environmental conditions.
- Sand Between Coats: Lightly sand the surface between coats to remove imperfections and ensure a smooth finish.
- Use the Right Tools: Utilize quality taping knives, mud pans, and sanding tools to achieve the best results.
Frequently Asked Questions
Q: What is the difference between joint compound and spackle?
Joint compound is used for larger projects like sealing drywall seams and covering screws, while spackle is typically used for small repairs such as filling nail holes. Spackle dries faster and shrinks less than joint compound.
Q: Can I use joint compound on painted walls?
Yes, joint compound can be applied over painted walls to repair cracks or imperfections. Ensure the surface is clean and lightly sanded to promote adhesion.
Q: How long does it take for joint compound to dry?
Drying times vary based on the type of compound and environmental conditions. All-purpose compounds may take up to 24 hours to dry, while setting-type compounds can set in as little as 5 to 90 minutes.
Q: Is it necessary to prime over joint compound before painting?
Yes, priming is essential to seal the porous surface of the joint compound, ensuring even paint coverage and color consistency.
Q: Can I use joint compound to texture walls?
Absolutely. Joint compound is commonly used to create various textured finishes on walls and ceilings, such as knockdown, orange peel, or skip trowel textures.
Drywall compound, Home improvement, DIY projects, Wall repair, Drywall finishing, Construction tips, Interior design, Handyman skills,
Conclusion
Understanding the different types of drywall compounds and their specific applications is vital for achieving a seamless and durable finish in your drywall projects. By selecting the appropriate compound and employing proper techniques, you can ensure professional-quality results that stand the test of time.
Buying link best Drywall Compound

Hi! I’m Sandip, a civil engineer who loves sharing about Civil Engineering & new ideas and tips. My blog helps you learn about engineering in a fun and easy way!