Table of Contents
Introduction
Culverts are one of the most important elements in road and drainage projects. They allow smooth water flow under roads, railways, and pathways while maintaining the strength of the embankment. With the growing demand for fast and durable construction, Culvert Installation using precast units has become the preferred method worldwide.
In this blog, we will walk you through a step-by-step procedure for Culvert Installation, including site preparation, PCC work, handling of precast units, and final checks. Whether you are a civil engineering student, contractor, or site supervisor, this detailed guide will help you understand how Culvert Installation is done efficiently.
Why Precast Culvert Installation?
Precast culverts are manufactured in a controlled factory environment and transported to the site. This approach ensures high quality, reduces project time, and eliminates the need for on-site casting and curing.
Advantages of Precast Culvert Installation:
- Faster construction with reduced delays
- No requirement of shuttering and reinforcement at site
- Better quality control due to factory manufacturing
- Easy installation with crane or hydra
- Durable and long-lasting solution
Procedure for Installing Precast Culverts

1. Understanding Precast Culverts
Precast members are structural elements manufactured away from the project site. After casting and curing in factories, they are transported for Culvert Installation. This eliminates the waiting time for concrete curing and reinforcement work. Once delivered, the units can be directly installed at the site using cranes.
2. Site Preparation
- The area selected for Culvert Installation must be properly leveled and excavated according to the design drawings.
- Ensure the foundation bed is compacted to provide uniform support.
- Remove loose soil and make the surface firm.
3. PCC (Plain Cement Concrete) Work
- Lay a PCC bed using M10 concrete at the base to achieve a level surface.
- Use an Auto Level machine to maintain accuracy.
- Allow the PCC to set for at least one day before starting Culvert Installation.
4. Culvert Installation Process
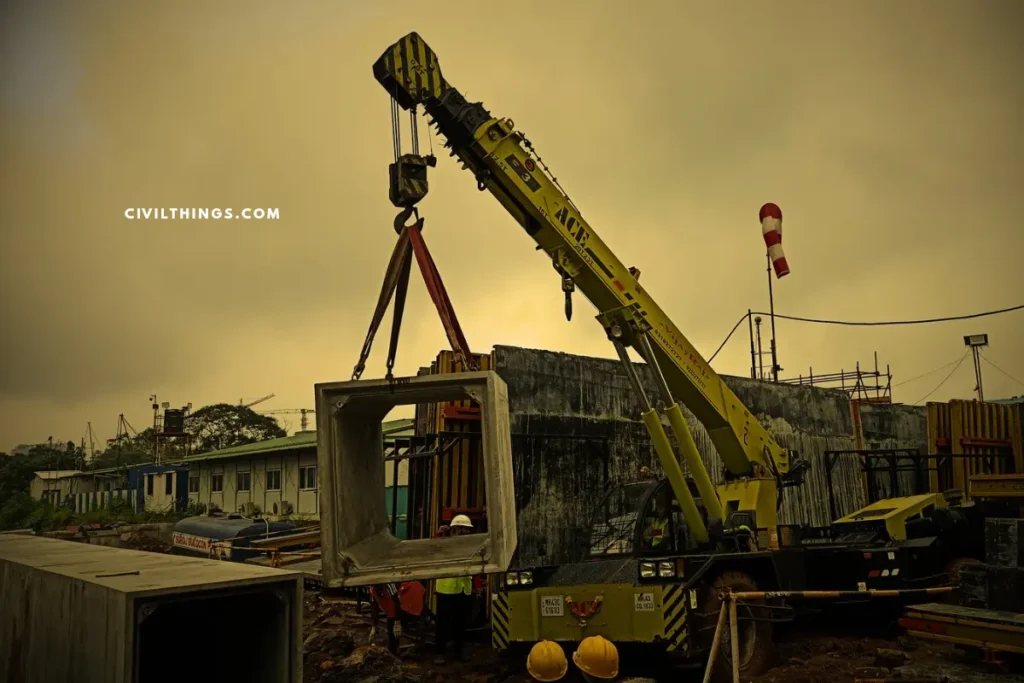
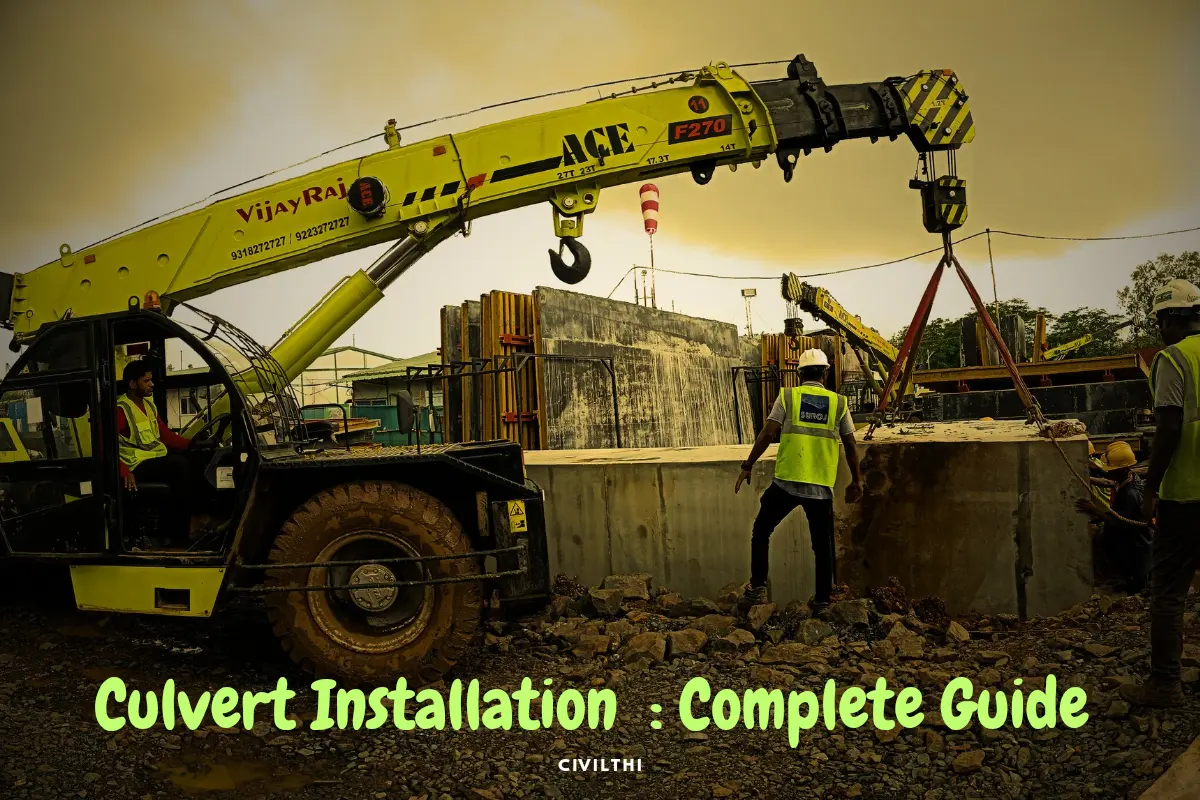
- Use a crane or hydra machine to lift the precast culvert units.
- Ensure safe handling with lifting belts of 5–10 ton capacity.
- Place the units one by one in proper alignment as per drawings.
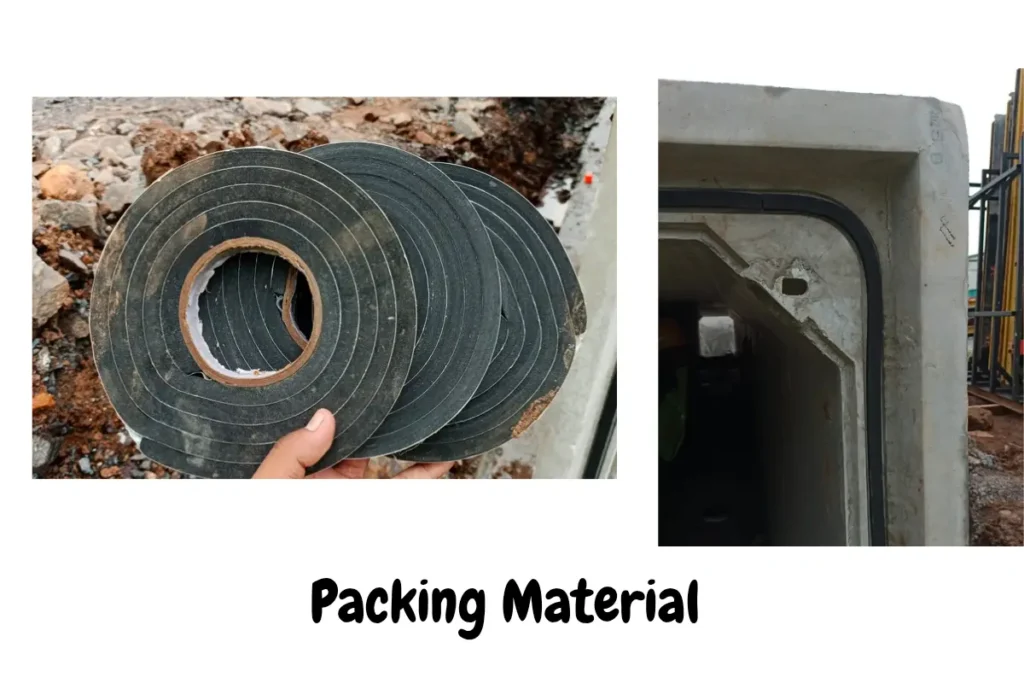
- Provide packing material or joint filler between adjacent culvert units. This prevents leakage and stops outside water from entering inside.
5. Final Checks
- Verify that the culverts are placed in correct alignment and level.
- Seal the joints properly with waterproofing material if required.
- Inspect for any gaps or misalignment before backfilling.
Tools & Equipment Required for Culvert Installation
| Equipment/Material | Purpose in Culvert Installation |
|---|---|
| Auto Level | Ensuring PCC and culvert alignment |
| Crane / Hydra | Lifting precast culvert units |
| Lifting Belts (5–10 tons) | Safe handling of precast units |
| PCC (M10 Grade) | Foundation leveling |
| Packing Material/Joint Filler | Prevent water leakage |
| Compactor | Compacting the foundation bed |
Best Practices for Culvert Installation

- Always check drawings and dimensions before starting work.
- Ensure safety precautions while lifting precast units.
- Avoid installation on loose or waterlogged soil.
- Use skilled manpower for crane operation and alignment checking.
- Regularly maintain installed culverts to prevent blockages.
Common Mistakes to Avoid in Culvert Installation
- Skipping PCC base preparation leads to uneven settlement.
- Using low-quality belts for lifting can cause accidents.
- Improper joint sealing may lead to water leakage.
- Not checking alignment can reduce culvert life.
FAQs on Culvert Installation
1. What is the purpose of Culvert Installation?
Culverts are installed to allow smooth passage of water under roads, railways, and pathways without damaging the structure.
2. How long does Culvert Installation take?
With precast units, the process can be completed in 1–3 days depending on project size, compared to several weeks for cast-in-situ culverts.
3. What is the standard PCC grade used in Culvert Installation?
Generally, M10 concrete is used for PCC foundation work before culvert placement.
4. Which equipment is required for Culvert Installation?
The main equipment includes crane or hydra machine, lifting belts (5–10 tons), Auto Level, and compactor.
5. Can precast culverts be installed in rainy season?
Yes, but proper dewatering and soil compaction must be done before installation.
Internal Resources You May Like
- Bar Bending Schedule (BBS): Step-by-Step Guide + Download BBS Excel Sheet Free
- Best Almari Designs for Bedroom DWG File Download (Free + Modern Ideas)
- How to Save Up to $5000 in Construction
- Row House Construction Estimation Excel Sheet
- STAAD Pro Software Free Download 2025
- Microsoft Excel Free Download for PC: Estimation & Costing in Civil Engineering
- ETABS Software Free Download for Windows 10
- Revit Software for Civil Engineering Download
- Free Building Estimation Excel Sheet Download
Conclusion
Culvert Installation is a critical process in infrastructure development. By using precast culverts, construction becomes faster, safer, and more reliable. From site preparation and PCC work to final alignment checks, every step in Culvert Installation ensures durability and functionality of the structure.
By following this guide, civil engineers, contractors, and students can clearly understand the proper Culvert Installation process and avoid common mistakes on site.
If you are working on a project, make sure to use the right equipment, follow safety protocols, and check alignment at every stage. A well-installed culvert ensures smooth water flow and long service life for your project.
📦 Pre-Delivery
🏗 Site Preparation
🧱 PCC Check
🔗 Lifting & Handling
🛠 Installation
⚒ Joints & Finishing
🌱 Backfilling
✔ Final QA
🦺 Safety
-
AI, BIM and automation lift pay in construction planning roles
Digital tools are reshaping construction planning and design, pushing up salaries for professionals with AI, BIM and automation skills as firms compete for scarce talent. Introduction Industry reports and recruiter sources are saying that AI, BIM, and automated systems being used in the construction sector has generated increased income opportunities for planning and design specialists.…

Hi! I’m Sandip, a civil engineer who loves sharing about Civil Engineering & new ideas and tips. My blog helps you learn about engineering in a fun and easy way!


